- Name Necklaces
- NECKLACES
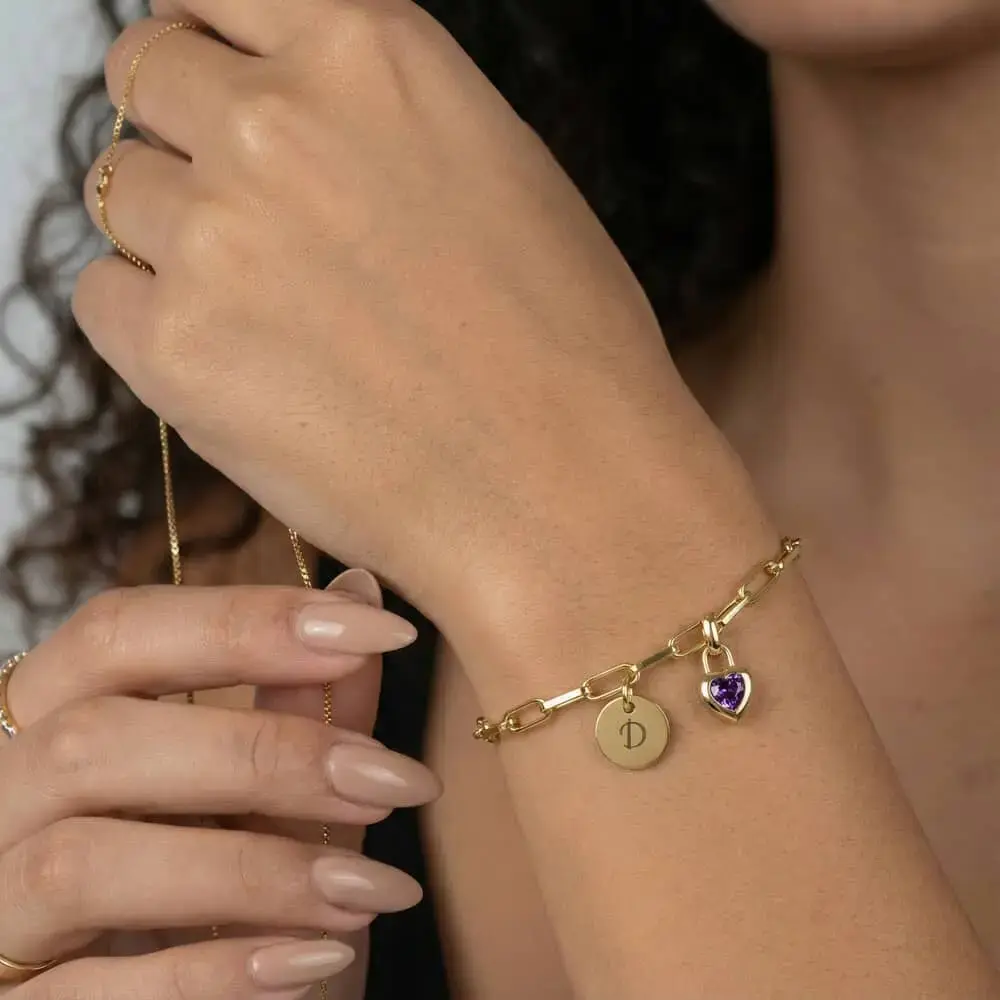
- BRACELETS
- Shop by StyleShop by Recipient
 Wrap your memoriesShop Bracelets
-
- MEN'S JEWELRY
- RINGS
- Shop by StyleShop by Recipient
 Make it uniquely yoursShop Rings
-
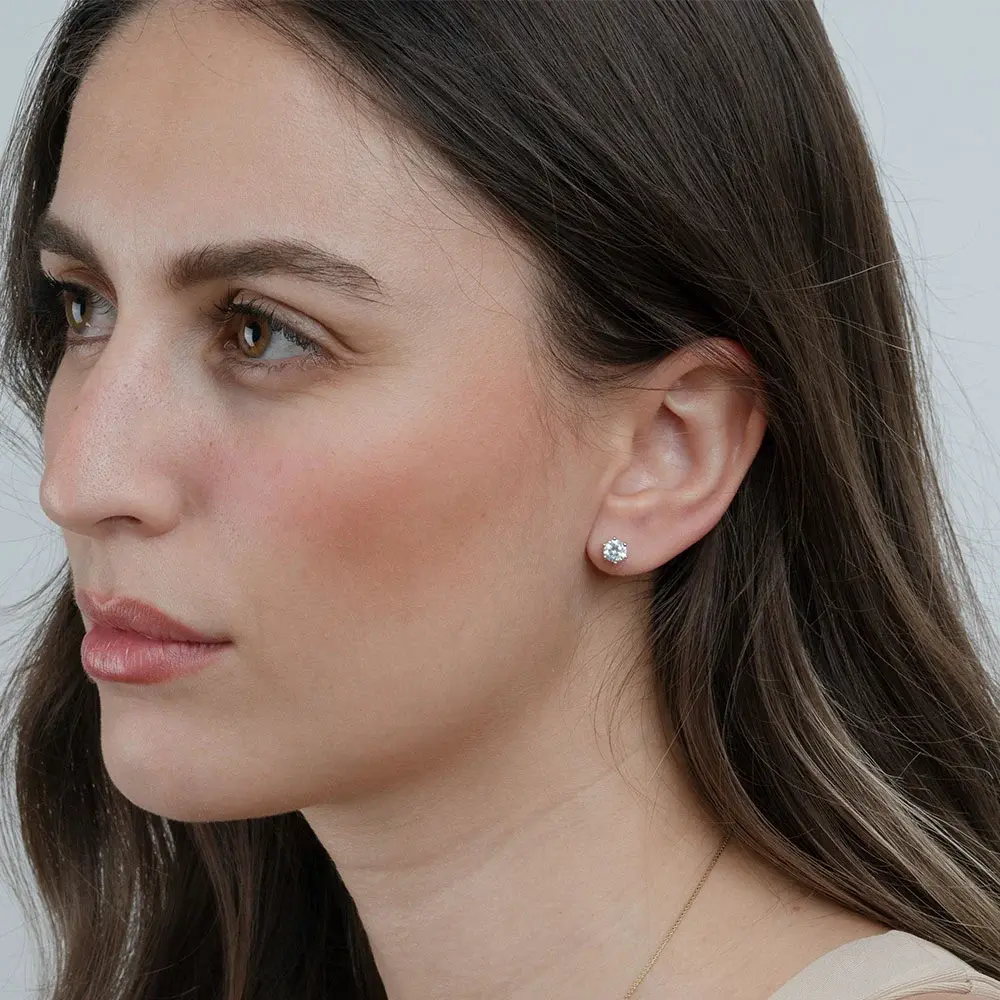
- EARRINGS
- COLLECTIONS
- TRENDING & SIGNATURE
 Bestsellers
 New Arrivals
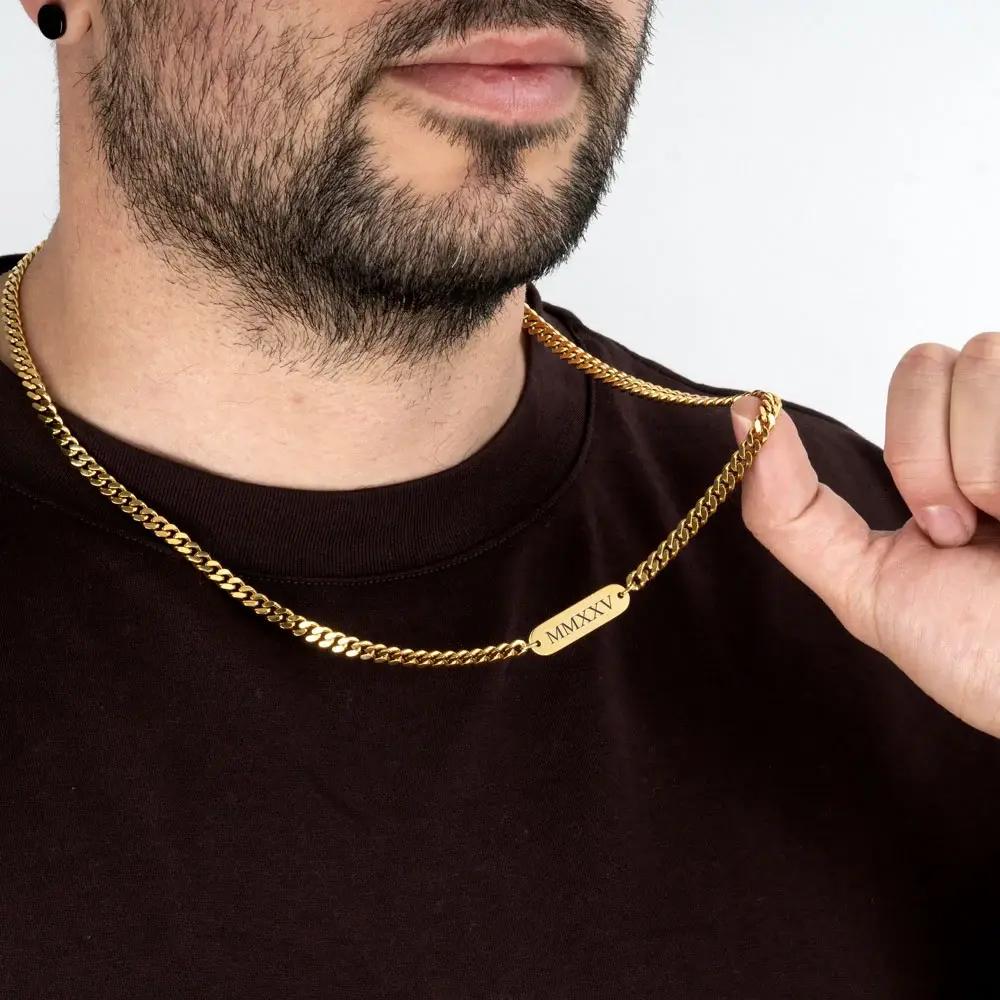
 Roman Numeral Jewelry
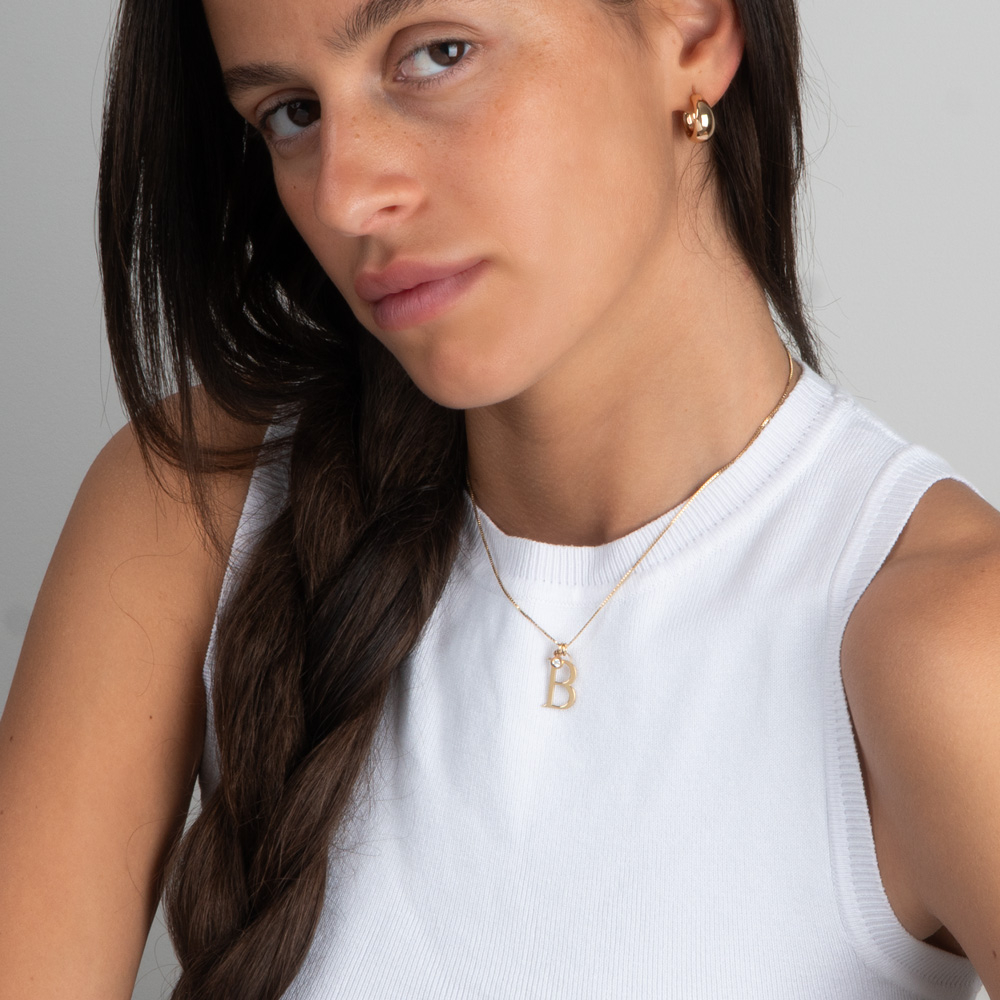
 Monogram Jewelry
 Birthstone Jewelry
 Infinity JewelrySYMBOLS & SPIRITUAL
 Religious Jewelry
 Hamsa Jewelry
 Evil Eye Jewelry
 Tree of Life Necklaces
 Zodiac Jewelry
 Pink Ribbon CollectionPERSONALIZED & UNIQUE
 Arabic Jewelry
 Braille
 Line Art Jewelry
 Fingerprint Jewelry
 Floating Locket
 KeychainsMATERIAL & STYLE FOCUS
 Cubic Zirconia Jewelry
 Specialty Jewelry
 Gifts for Music Lovers
 Jewelry For Sports Fans
-
- GIFTS
- Gifts for Someone
 Give from the heartShop Gifts
-
- BESTSELLERS
- NEW